How to Convert CSV to XLSX in Power Automate
Converting Comma Separated Value (CSV) files to Excel spreadsheets (XLSX) is as common a task as it is a repetitive one. Technical folks typically prefer working with CSV for its simplicity, widespread compatibility, and overall efficiency, while client-facing business folks tend to appreciate the complex rich text formatting, mathematical capabilities, and data visualization features that XLSX offers.

When we’re faced with a task as important and repetitive as converting CSV to XLSX at scale, automation is the best answer. Thankfully, automating CSV to XLSX conversions is extremely easy to pull off — especially in Power Automate.
In this quick walkthrough, we’ll learn how to convert a folder full of CSV files to XLSX using a Cloudmersive Document Conversion connector action.

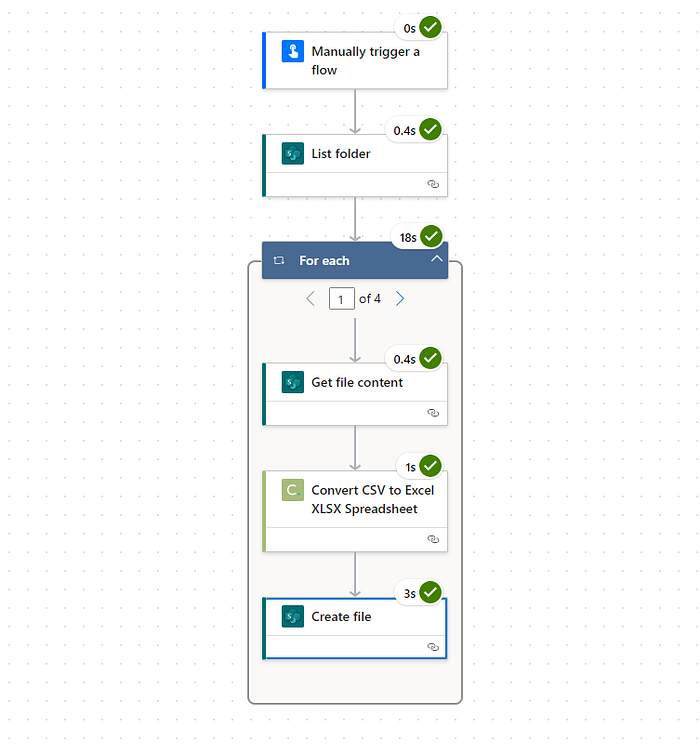
We’ll demonstrate this workflow in the context of a manually triggered, instant cloud flow. As shown above, I’ll be using a folder containing four example CSV files.

We’ll start by bringing CSV files from the target folder into our flow. We’ll use a SharePoint connector action called List folder, which returns file identifiers to our flow for each file stored within a target folder. We’ll configure this action by selecting our SharePoint Site Address and File (in this case, “folder”) identifier.

Next, we’ll add the SharePoint Get file content action into our flow. We’ll retrieve our CSV files’ contents using the Id (file identifier) value returned by the List folder action.
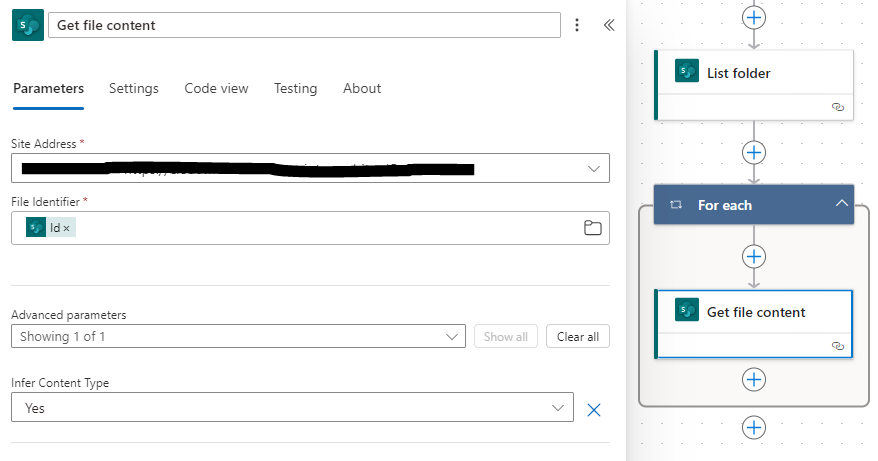
Once we include the Id value in our Get file content action, we’ll notice Power Automate automatically wraps our action in an Apply to each (i.e., For each) control. This ensures file contents are retrieved for each unique file identifier.
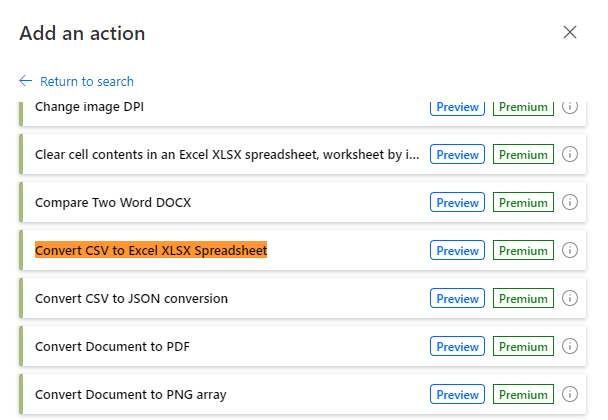
Within the For each control, we’ll add a new action and search for Cloudmersive connectors. Specifically, we’ll look for the Cloudmersive Document Conversion connector.

We’ll click “See more” to view the actions list, and from here, we’ll search for an action titled Convert CSV to Excel XLSX Spreadsheet.
We’ll need a premium Power Automate license to access actions from this connector, but we can create our connection for free with a free Cloudmersive API key. This allows a limit of 800 API calls per month with zero commitments, and we can get one by creating a free account on the Cloudmersive website.
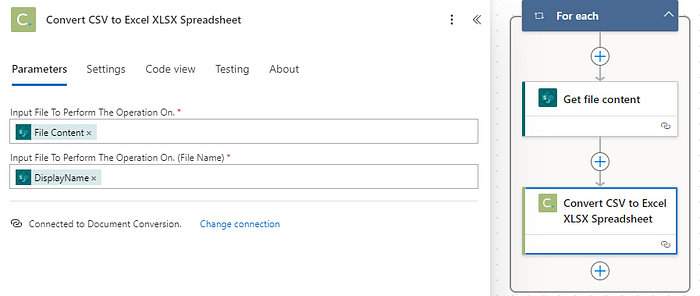
After we open this action and create a connection with our API key, we’ll add our CSV file contents and file names to our two request parameters.
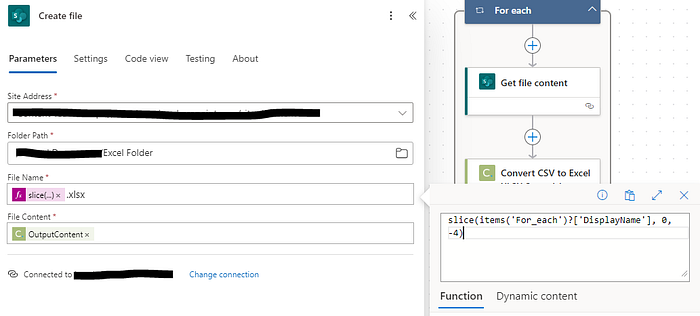
In our final step, we’ll add a SharePoint Create file action to generate our new XLSX documents in a relevant folder.
If we want, we can utilize the original CSV file name by creating a Slice function that trims “.csv” extensions from each DisplayName value. With the “.csv” extension removed, we can write “.xlsx” extension next to the trimmed version (this avoids creating files with double extensions, e.g. “file.csv.xlsx”).
After we save and successfully test our flow, we’ll find Excel versions of our original CSV documents in our target folder.
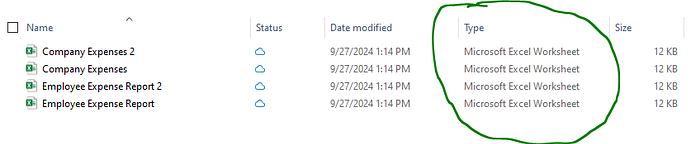
Just like that, we’ve instantly converted a group of CSV files to Excel worksheets.
